TurtleCraftyGirl

Thursday, June 12, 2014

Summer Berry Cake


Today we celebrated our 9th Wedding Anniversary. It was a nice relaxing day(after a very long time), and we ended it with having this beautiful cake which my older son baked for us(with Mommy's help of course). I had almost given up the idea of baking today, but he did not. Right after my little one slept, he reminded me that we still have to bake the Anniversary cake. I could not bring myself to say no, and I am glad I did not, because it were the best 2 hours spent. He wanted to do everything on his own, from measuring the ingredients, mixing the batter, some licking in between, and of course his non stop commentary. My husband sat in the background enjoying the whole show. 

We still had some strawberries left from our last week's Strawberry picking at a farm. So, this cake from my favorite cake blog Call me a cupcake, fit our need perfectly.

My boy getting the mixer ready.
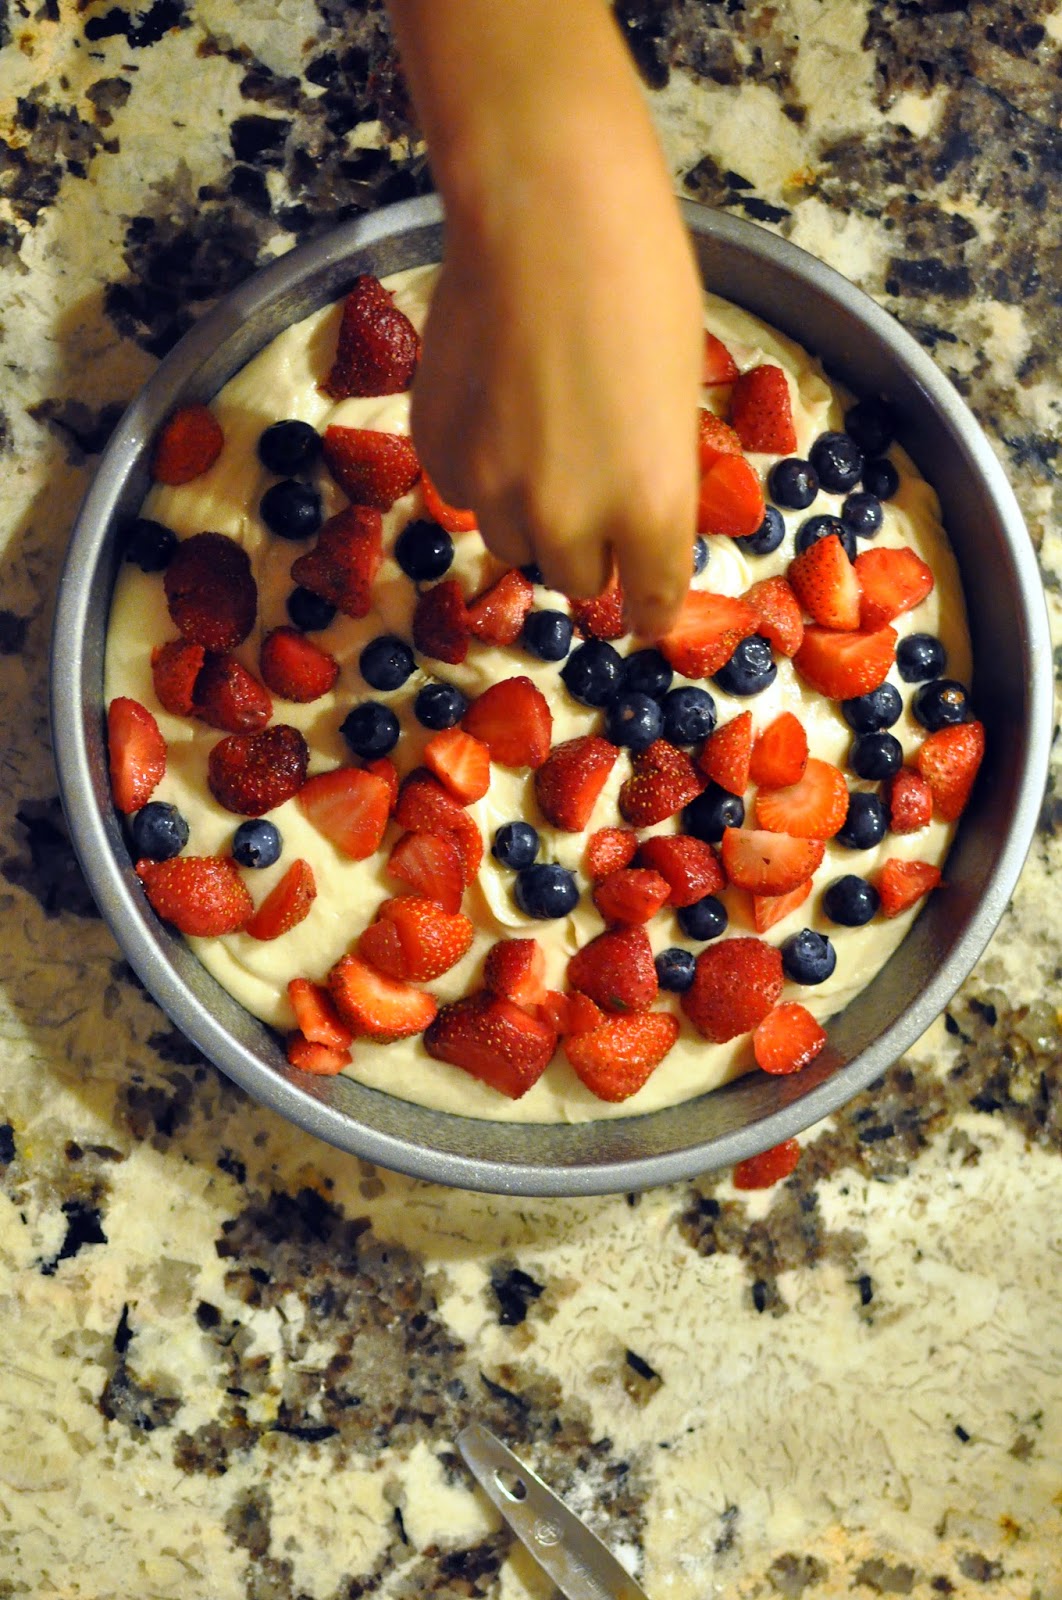

Adding the berries.


Waiting after the cake went in the oven.


We had to eventually convince him to go to bed as it was getting late in the night, and he could have it as his breakfast tomorrow morning. He was not really happy about it, but 'being difficult' is not a word in his dictionary, so off he went. 


Rohit and I could not wait until tomorrow. After all, the anniversary is today.


I cannot wait to share this cake with kids tomorrow morning.

Looking forward to getting older with my best friend, and hopefully enjoying kids baked cake every year.

Happy Baking!

Wednesday, June 11, 2014

Pillow Case Dress


My daughter really inspires me to make dresses for her. I never thought I would enjoy sewing that much. At least for now, I do love it, especially when it takes less than 2 days to whip out a dress for my little munchkin.

I bought this fabric long back on a sale at Joanns. Loved the animal print on it. This was before Miss M was born, and I was getting all ready for her. Back then,  I made an  baby dress from the pattern at Itty Bitty baby dress from this fabric, and she must have hardly worn it 4-5 times. Babies grow up so fast. Realizing this, I was little discouraged from sewing anymore until she was little more grown up. Fast forward 2 years, I think both her and I are ready to dance around comfortably in light airy dresses.


So, knowing my limited sewing skills, I am sticking to simple patterns, much to the disappointment of my mother. She is a perfectionist and liked to make the most beautiful intricate dresses for me and my sister when we were growing up. We had matching purses to go with the dresses, decorated belts, handmade buttons, and hair accessories. On seeing the simple dresses that were being made for her precious granddaughter, she offered to send me her pattern book.. Well she would have to do more than that.. maybe I can convince her to take a break from crocheting, and instead sew some of those frilly dresses for Miss M. Knowing her, I know I would never hear a No from her, so I have to be very selective of what I ask of her.

So back to the dress, here is the pillow case dress I sew for my darling little girl. I saw couple of tutorials on the net and eyeballed the measurements. But still posting a link to one tutorial here. Miss M loves to choose which side to wear in front each time: Hippo or Giraffe.  It’s great for the hot summer days.


I am thinking of making another one, but with a belt at the waist, which I think could make it more dressy.

Happy Sewing!

Tuesday, June 10, 2014

Father's Day Idea #2 : Handmade Keychains


This is a great craft which even younger children (4+) can make as Father's day gift. These key chains was completely my son's idea. He did the needle work on these star shaped plastic canvas that can be purchased at any craft store. It started as a part of stitchery work at his school. He loved doing it so much, that I got him few patterns for the summer. 

He liked these star shapes the most. These are around 4 inches, not too small, but can work as a key chain. He  chose all the colors for these stars, some were embroidery threads mixed with knitting yarn. 

We backed it with felt using hot glue. Added the keyrings, packed in small bags, and shipped all the way to India for Grand Pa.


Happy Crafting with your kids!

Thursday, June 5, 2014

Father's Day Gift: DIY Canvas Picture

Here is an idea for Father’s Day. A picture of grandkids on canvas for grandpa(Nanu).


I am super excited for this project. I have never gifted my Dad anything for Father’s Day before this, but this time, I decided to step up. It was never celebrated much while we were growing up, but now that we are far apart, it can serve as a reason to send some handmade stuff from kids/grand kids back home.  And knowing my Dad, I am sure he will love it.

For this you would need:


  • Blank Canvas
  • Picture the size of canvas
  • Modge Podge
  • Foam brush
  • Brayer or Roller


A while back, I had picked up three 12 * 12 canvas from the craft store on sale. They have been laying in my store for quite some time now,  and there is no better time to put it to good use than now.

On Picasa, I added the text to the picture, and used staples to get a 12 by 12 print on glossy paper. It is half the price from Walgreens.  Also, at Staples they will actually print the pic of size 12 by 12 or any size you need. At Walgreens, you would have to cut the picture to fit the canvas.

I also took an engineer print of the photograph without text for my home, and decided to try my hand at this process using this engineer print first. It cost me 0.60 cents for the engineer print.. Unbelievable!!! So if anything goes wrong(which it did), I would be prepared before I did the final version.

Step 1: I saw some pictures online where the edges of the canvas were painted. If you choose to do this, now is the time. I decided to skip this step.

Step 2: Using the foam brush, apply an even thick layer of modge podge on the canvas.


Step 3: Then stick the picture on the canvas. This step is easier with a thick photo paper instead of thin engineer print. With the engineer print, there were lots of bubbles formed. You can use the brayer or roller to remove these bubbles.  

Step 4: After the bubbles are out, apply another layer of modge podge on the top of picture, and around the edges of canvas, and let it dry.


In the engineer picture below, I did not use the brayer, and all the bubbles can be seen. It looks better after drying, but still its not as smooth.


Here is the one with thick photo paper. There were hardly any bubbles. Whatever were there, I smoothed it using the brayer.  This one looks perfect.


I noticed that even though it was harder to work with the engineer print(and its only in BW), the canvas texture can be seen through it because it’s so thin. And so, it looks so much close to the actual prints on canvas. I will post the results of Engineer print on canvas using the brayer, hopefully without any bubbles soon.

We wrapped the gift in drawing sheet from kid’s drawing table.  It had some random drawing done by kids. 


Added some handmade cards for Nanu, and its ready to be posted in this gift box from usps. Now hoping Indian Postal System would do its part and deliver in time.


Happy Crafting!
Oh.. BTW, if my Mom is reading this post, please let it be a surprise for Nanu Papa.  I know its going to be very hard, but try NaniMa:)

Related Posts Plugin for WordPress, Blogger...