TurtleCraftyGirl

Wednesday, June 17, 2015

Banana Orange Cake


Yesterday, I decided to use all my over ripe bananas by making a Banana bread. But my son said he would like an Orange cake instead. So I decided to mix both. My sister had highly recommended a Banana cake recipe which she forwarded me along with tons of positive things about this recipe. I modified this recipe to include freshly squeezed orange juice and orange rind, and adjusted the flour accordingly.


 Increasing the flour meant more batter, so we had some cupcakes as well.


A small mini cake to go along. I was out of walnuts, as my kids have a big appetite for nuts and berries. As luck would have it, I had bought a packet of dried wild berries a day before, and they have not had a chance to finish it yet. So, I used berries instead.


Here's the recipe
Ingredients
1/2 cup butter
1 tsp vanilla
1 1/2 cup light brown sugar
3 eggs
3 cups sifted all-purpose flour
2 tsp baking powder
1 tsp baking soda
1/2 tsp salt
1 1/3 cup mashed ripe bananas
1/4 cup milk
1 cup chopped walnuts
3/4 cup or freshly squeezed juice from 1 large orange
rind from 1 large orange

Directions
  1. Heat oven to 350°F. Mix orange rind and sugar thoroughly.
  2. In a large mixing bowl cream butter, vanilla and sugar until light and fluffy. Beat in eggs, one at a time.
  3. Sift flour, baking powder, baking soda and salt together. Mix mashed bananas, orange juice and milk together.
  4. Blend dry ingredients into batter alternating with banana and orange mixture. Stir in chopped nuts.
  5. Pour batter into 2 greased and floured 9-inch round or square baking pans.
  6. Bake for 30 to 40 minutes or until cake tester inserted in center comes out clean.
  7. Cool 10 minutes, then turn out on racks until thoroughly cool. When ready to serve frost with Cream Cheese Frosting.
Cream Cheese Frosting: In mixing bowl, stir cheese until smooth. Gradually beat in sugar a little at a time. Add vanilla; beat until smooth. Spread mixture between layers and around sides.

You can find the original Banana Walnut cake recipe here.

I can't wait to make it again with walnuts and maybe some frosting.

Happy Baking !

Monday, June 15, 2015

Warm Cozy Wrap


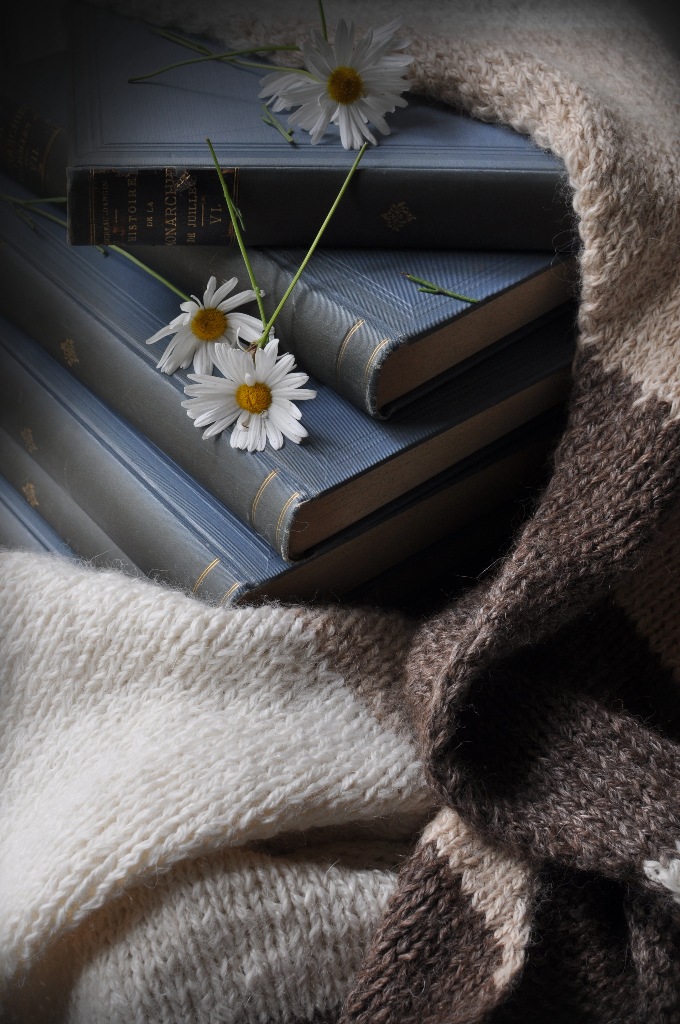
Last December I stumbled upon this super soft and warm Mountaintop Chalet yarn from Classic Elite. My local yarn store had a beautiful wrap/scarf knitted from this yarn for display. I bought that yarn right there as a Christmas gift for myself. I finally got to knitting it this year. 


The pattern for this yarn is available for sale at Ravelry. I did not purchase the pattern as I just went with the flow of changing colors on the bias.


I still need to block it, but have already used it couple of times. Totally love it.


Happy Knitting!

Wednesday, May 27, 2015

ColorBlock Bias Baby Blanket


This appears to be the baby season in our extended family. Which means I get knit more. I always prefer mindless knitting. That's the reason I get drawn towards blankets and scarves. This baby blanket is my latest knitting project that I completed. The pattern is from purlbee.  For yarn, I used Cascade 220 Superwash sport from Webs.


Love these Tassels.


Happy Knitting! 


Monday, May 18, 2015

Chocolate Cupcakes with Salted Caramel Chocolate Ganache


My search for the perfect Chocolate Cupcakes have ended. This recipe from gimmesomeoven  makes such moist delicious cupcakes. For the cakes, I still love my recipe here, but my cupcakes were always little dry with it. 


For the Salted Caramel Chocolate Ganache:

1 cup salted caramel sauce
1/2 cup cream
18 ounces dark chocolate

Heat the salted caramel sauce in a pan, and add dark chocolate pieces to it. Take off the heat, and add half cup cream. Let it settle for couple of hours before piping it.

I did not wait long enough for the ganache to settle, and started piping while it was still warm, and so the messed up piping.


For salted caramel, I followed the below recipe from Flavor the Moments:

Ingredients:

  • 1 cup graulated sugar
  • 1 tablespoon water
  • 3/4 cup heavy cream
  • 2 tablespoon unsalted butter, cut into cubes
  • 1 teaspoon fleur de sel


Directions:
Place the sugar and water in medium saucepan over medium low heat. Cook, stirring, until the sugar has dissolved.  Increase the heat to high, and boil the sugar without stirring. If the sugar begins to crystallize on the sides of the pan, carefully use a wet pastry brush to brush it off.  Boil until the sugar turns a deep amber color, being careful not to burn.  Remove from heat and whisk in the cream a bit at a time. Whisk in the butter and fleur se sel. Transfer to a cool jar.


Happy Baking!

Wednesday, May 6, 2015

Cozy Ribbed Cowl


Spring is here, but its still cool enough for me to continue working on my knitting projects. This year, so far has been all about knitting. Handmade knitted scarves and blankets make such wonderful gifts.

We moved to a new place last fall and as luck would have it, there is an amazing yarn(Monarch Knitting) place close to my home. All the soft merino makes me drool and I normally end up buying yarn for projects way into future.  So acquiring quite a stash.


So, this cowl was my 4th knitting project this winter. First 3 were gifted without taking any picture. The yarn used is Malabrigo Chunky  and its a simple Ribbed pattern. I found the ribbed pattern on my new favorite knitting site Purl Bee. I modified this pattern slightly to K4, P4 intead of K2 P2, and used different set of needles as per the yarn. 


Happy Knitting!


Thursday, April 30, 2015

Mother's Day Clay Necklace


Mother's Day is almost here. Although, I think mothers should not just be celebrated once an year. They deserved to be thanked every day for their unconditional love and support. Being a mom has made me realize what a tough job it is, and thus my appreciation for my own mother increases by multiple folds with each passing day.

Since our cross country move, my son has been asking me to do a class project at his new school. So, we decided to make something little for mother's day. An year or so back, my son had brought home salt dough pendant necklace for mother's day, and I had totally loved it. I decided to do the same. But instead of salt dough, we used clay from the craft store(Sculpey brand).


I let kids knead and roll their own clay, so the shapes are not perfect, but that adds to its charm. The chose a flower or a leaf to make an impression on the clay, and their reactions when they removed the leaf were worth watching. After baking as per the instructions, I took it back for kids to paint these. 


On the back, we stamped the word 'love'.


Did a small fingerprint pendant as well.


Some chose to make a heart instead. This one is my favorite.


After the paint dried up, we put it all through a leather string. We are ready to ship ours to grandmothers in India. Hopefully, these will reach in time.

Happy Mother'd Day!


Monday, March 9, 2015

DIY Succulent Planters


Last summer I was determined to prove(to myself) that I was capable of growing plants. So, unlike all the other times, instead of going crazy with exotic plants and going overboard with the number of plants, I decided to focus on just few  plants especially succulents. 

The first few successes with succulents really encouraged me. Now, some people may think that growing succulents is easy, as these are generally hardy plants. But in the past, on multiple occasions, I have managed to kill succulents, either by over watering or by drying it out for too long. So, it was a major feat when for couple of months I managed to sustain the few varieties of succulents I had. 


With this success, I decided to propagate from leaves. It was a slow process but was quite enjoyable. I really went crazy and tried to propagate all the varieties of  succulents I had plus some  more that I could find in the neighborhood and from friends. Needlesandleaves has a nice article which explains in detail this process of propagating.  With quite a large number of babies, I found myself in need of more pots for my new plants.


I decided to create the DIY concrete planters at home. I used plain cement/concrete mix from the store and followed the instructions on it to make the concrete mix. There are many different versions on the internet to mix other stuff in cement/concrete mix to make the planters light. But I decided to keep things simple(and heavy) for this time.

First we needed various containers in fun shapes and sizes. My son K was responsible for this one. He not only came up with ideas on what we could use, but also cut the containers to desired height.

For one pot: 2 containers are needed: a bigger outside container, and a small container that would fit inside the outside bigger container.

Ideas for outside container:
Milk carton cut to half
Small beach buckets/pail
Plastic Jug

Ideas for inside container:
Thick water/juice bottle
Milk carton
Plastic cups

Here are the steps we followed:


Step 1: Choose a bigger outer planter, and a smaller inner planter. Spray the outer bigger bowl with cooking spray.

Step 2: Drill/Poke a hole in both outer and inner bowl.

Step 3: Insert a straw (thick) between both the inner and outer planter and align them. The straw will ensure that the hole(for drainage) does not get filled up with concrete mix.

Step 4: Pour concrete mix in the outer bowl only, and press the inner bowl into it.  Let this dry for over a day or two.

Step 5: When the concrete has completely dried, remove or cut off the outer and inner planter bowls.


To be safe, I used succulent potting mix for all my succulent babies.  I plan to make many more of these pots once the spring is here.

Happy Planting!


Monday, August 11, 2014

Rustic Log Succulent Planter


This summer was one of my most active ones, especially when it came to maintaining my garden. My mother would be so proud of me :). My OH is actually very impressed this year because until now, he was convinced that I had a black thumb. So, as I saw my plants doing well this summer, it gave me motivation to make some interesting planters especially for my succulents. 


I had this log with me from over an year, all polished and ready to go. It has a finish of polyurethane on it, which protects the bark. For converting it into a succulent planter, it needed a 2 inch deep hole(as per some sources online). But without proper tools, I could only make it as deep as 1 inch. We shall see in due time if this was deep enough or not.

Added some cactus potting mix, and a baby off one of my hens & chicks plant.


Happy Gardening! 

Saturday, August 9, 2014

Wild Kratts Rakhi


Rakhi or Rakshabandhan is just a day away. Rakhi is an Indian festival in which a brother and sister celebrate their love and strong bond. Sister ties a Rakhi (sacred thread) on her brother's wrist, and brother vows to protect his sisters lifelong.

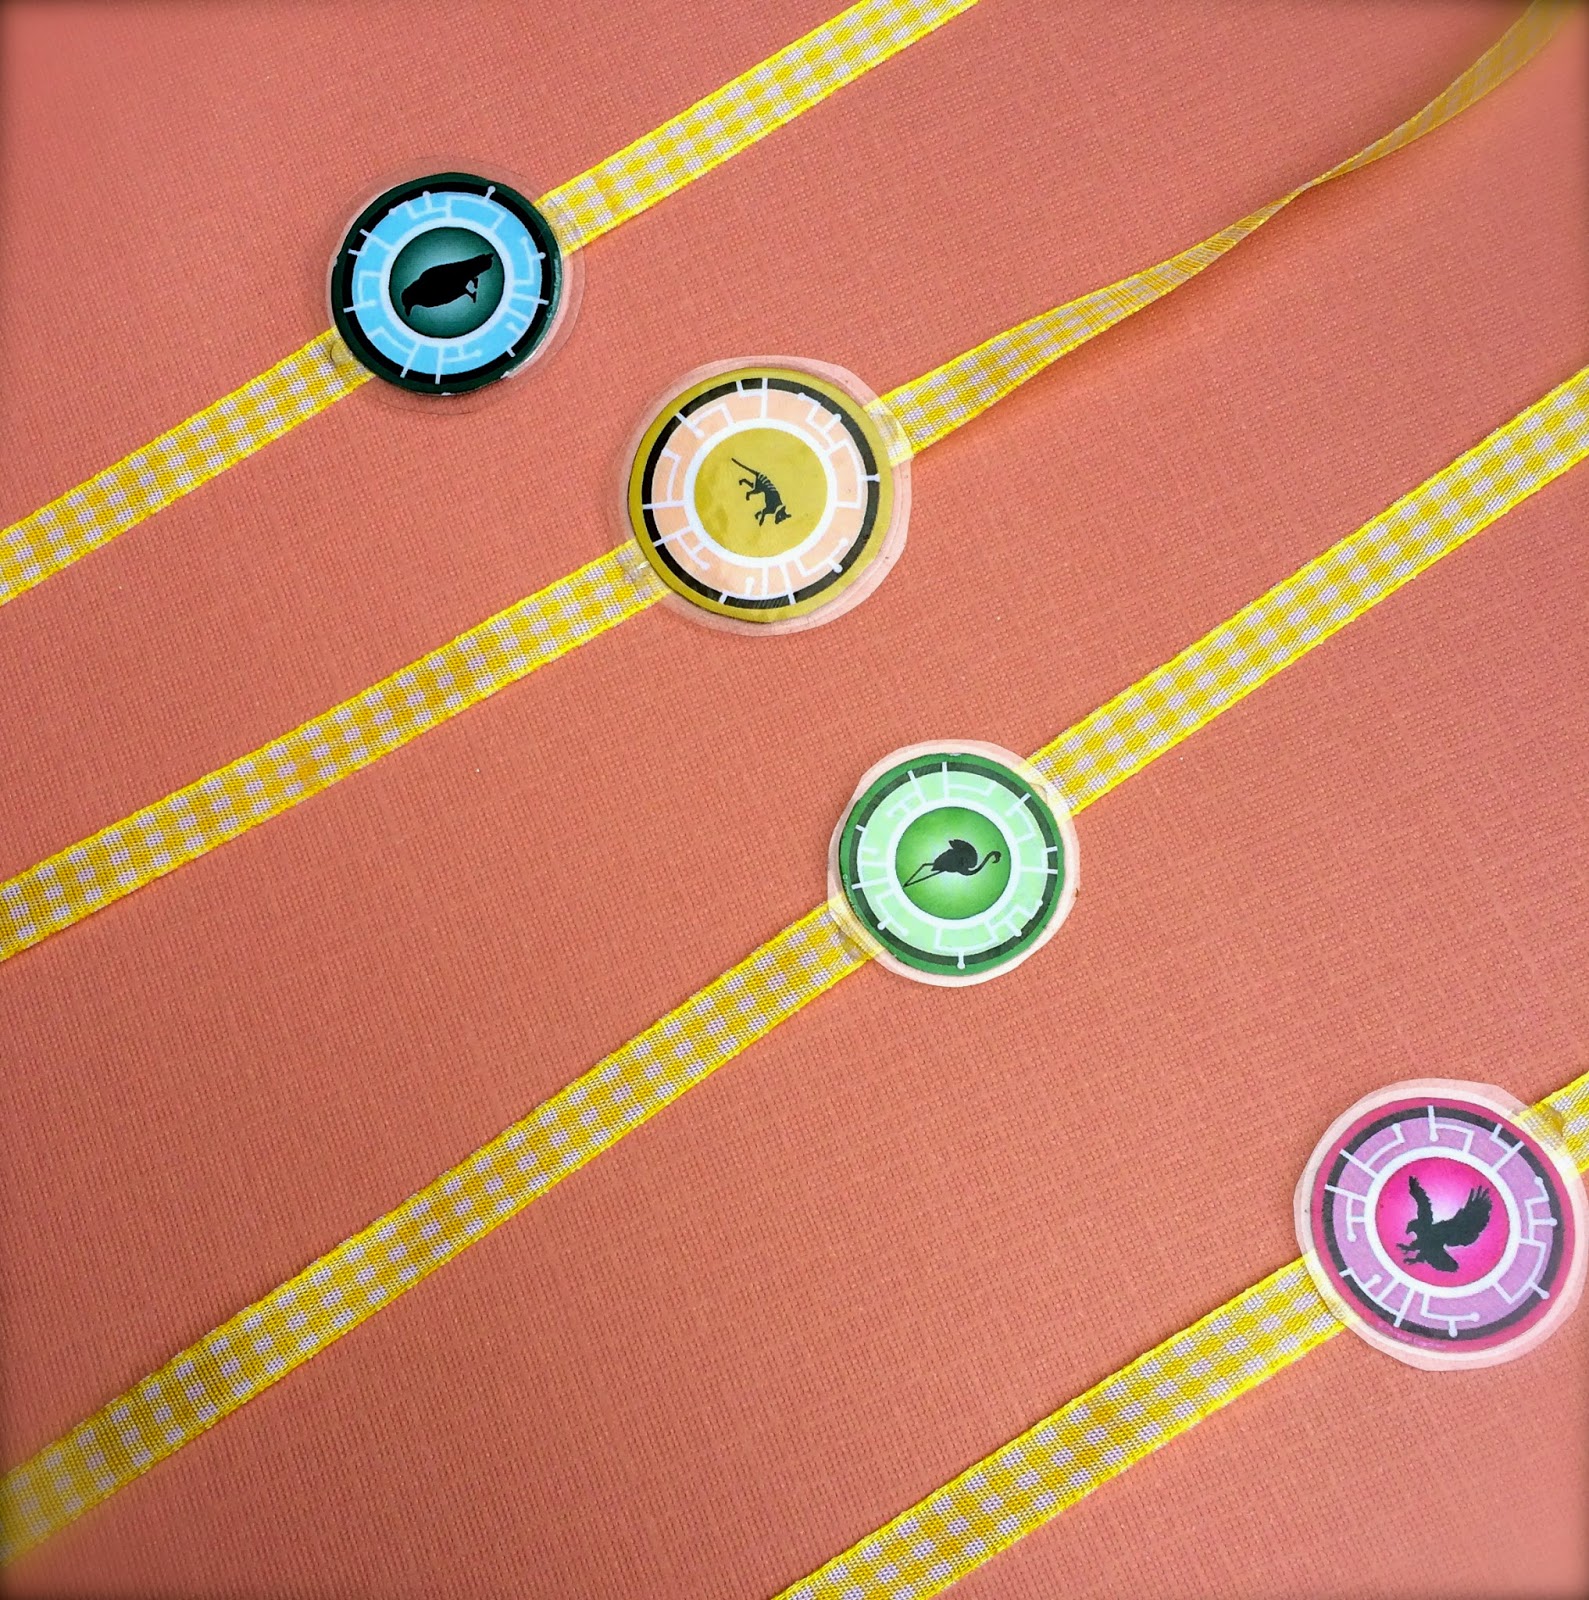
This year, I was struggling to come up with some fun idea for younger kids in our family, until now. Oh, I am so excited. A Wild Kratts Rakhi with a creature power disc on it. Which Wild Kratts fan would not love it.

There were still some creature power discs that my son did not already have. I looked for them online and found most, except for the Tasmanian Tiger. So, I ended up making just that one, rest pulled from the internet.


Took a print out of all the discs on a thick cardstock, and got it laminated from a store nearby. These discs were smaller(1 1/2 to 2 inches) than the regular size. Using a glue gun, attached the discs to a ribbon or thread. And its done. 


Well, my brothers and cousins got a much simpler Rakhi this time.

A very Happy Rakshabandhan to all my dear brothers and cousins.


Monday, August 4, 2014

Summer/Pool Birthday Party


My little munchkin turned 2 last week. She is one girl who has been preparing for her birthday for a very long time. Her favorite pretend play is to build a birthday cake with lego blocks and repeatedly blow candles, and at the same time, singing the birthday song for herself. 

With just a week to prepare for her party, and after some brainstorming with her brother, we finalized the fish/ocean theme for the party based on her favorite sleep buddy: clown fish, and decided to add kiddie pools and slip & slide for summer fun. 

With not much time at hand, it was the first time I did not post the invites for the birthday party. We just did a simple evite. Well, there is always a first time. 

On the day of her actual birthday, I baked a small cake, and her brother decorated it with air filled water balloons while she was taking a nap. Its a different thing that the balloons started popping when we lit the candles. By this time, Miss M did not care about the candles or the balloons and all she wanted was to take a big bite of the cake. So much that her brother got worried that she would not let anyone else have that cake.


For the party, which took place in our backyard, I had big plans of decorating. I thought I would start the decorations a day in advance, but the rain gods decided to bless us until few hours before the party. So, I did whatever I could in an hour. Reused the paper lanterns and some felt bunting.


Here's the cake table.


For the cake, I made the clown fish topper out of fondant along with some sponges and corals. There was also a star fish, but it did not make it to the party. K (M's brother) decided to check it out a day before the party, and it broke into pieces. One of the fish's fins also broke at that time. I did make another one before the party, but it lost in between the party chaos. So, our little topper has one missing fin. I am sure M did not mind.


Another look with some shells and coral decorations.

I wish I could make the fish smile a little bit more.


Maya's favourite marshmallows: coated with candy melts, brown sugar(for sand) and gold fish.


Chocolate cupcakes. I decided to go with the mini cupcakes to avoid any wastage.


Fun Fun


Birthday girl enjoying the fish suckers. I really doubt if any other kid got to try one as I think Miss M ate most of these.


Ice Cream time


Party Favors: Swim Goggles, stcikers, bubbles in watering can

Back to more fun...

This was by far the most fun birthday party. The moment the party started, I did not hear much from the kids. I did not organize any games as there was plenty to keep the kids busy. We literally had to drag the kids out of the pool and trampoline to cut the cake. 

A very Happy Birthday to my little dare devil.

Related Posts Plugin for WordPress, Blogger...